In this post, we will learn the Company Master Creation in Saral software. Earlier we showed you how to create a file or create a new company now learn the further process in this tutorial.
After creating a new company, the company master window will be shown first. In this window enter all the company details.
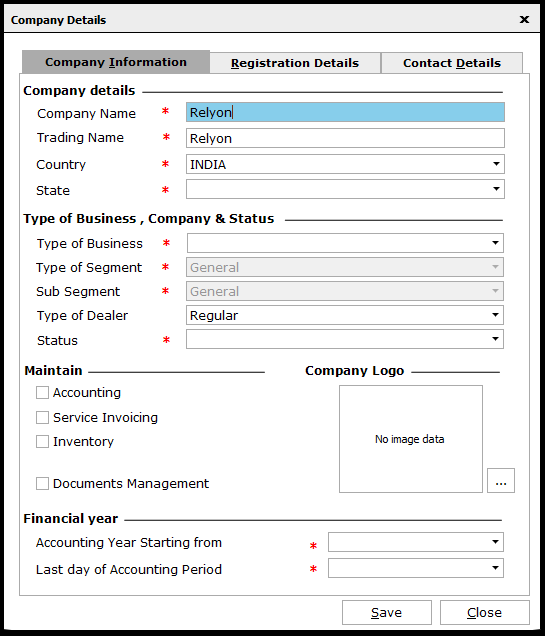 These details in the windows are related to the company information, statutory details & contact details.
The first entries consist of the following:
- Company Name: The name of the business
- Trading Name: The name of the business under which the trading the done. This may be the same as the company name or different.
- Country and State: Select the Business Country (set by default to INDIA) & State of business location
- Type of Business: Depending on the nature of the business, select the type from the dropdown
- Type of Segment & Sub Segment: Set to General by default
- Dealer type: Select the Type of Dealer registration with GSTN for GST return filing like Regular, Composition etc.
- Status: Select the Business incorporation status like company, firm etc.
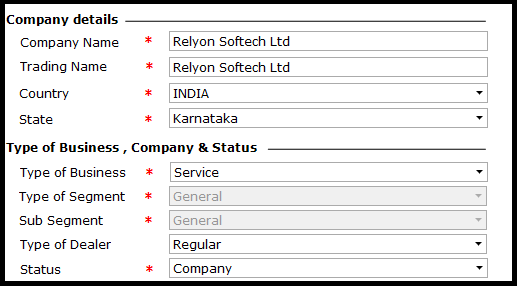 The next section of the window is w.r.t the working of the software. Here select the modules required in the software.
Saral Accounts comes with 3 modules:
- Accounting: Module covering the general accounting which includes voucher entry, Books of accounts and Final statement generation
- Service Invoicing: Module used for generating sales and receipt invoice for services given and generate related reports
- Inventory: Module for maintaining item stock details as well as transactions of sales and purchase of item including the reports.
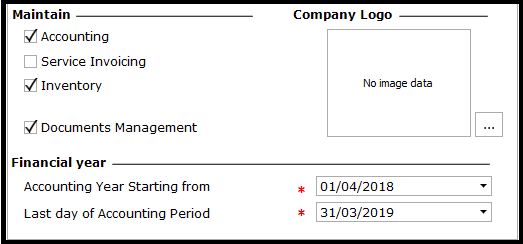 Also available is a Document Management module used to store soft copy of the related party/transaction like statutory document or transaction vouchers etc.
After the selection of the modules, upload the company logo which you need to display on all the reports and invoices.
Now, enter the accounting period i.e, the period for which the accounting will be maintained in this file.
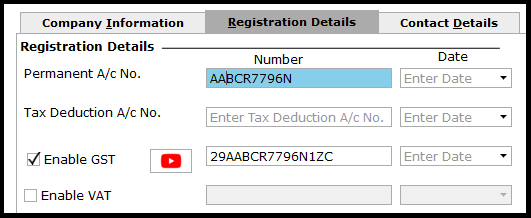
After entering all the details, go to the Registration Details tab and enter the company statutory details. Here the major details will be PAN, TAN, and GSTIN of the company.
 In the next tab of Contact details, enter the contact information of the company like company address, contact number, mail id etc.
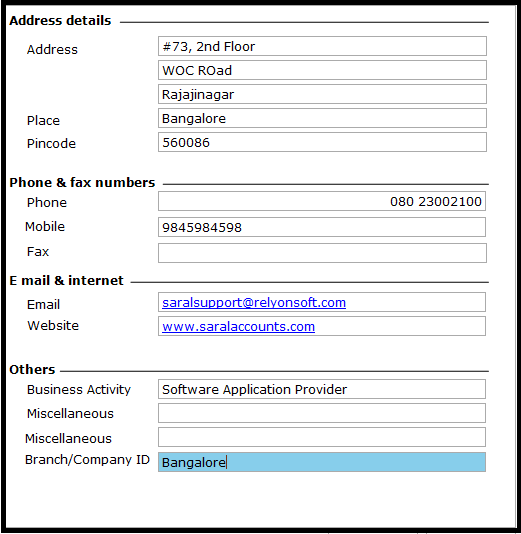 After entering all the details, save the information. The basic setting wizard will be shown. If you want to do the basic setting at this point select “Yes” else select “No”.
 If you select on Yes, you will be taken through a few basic setting screens. You can enable the settings as per the requirement and continued.
After all the settings, your file will be created and the Home page will be displayed.
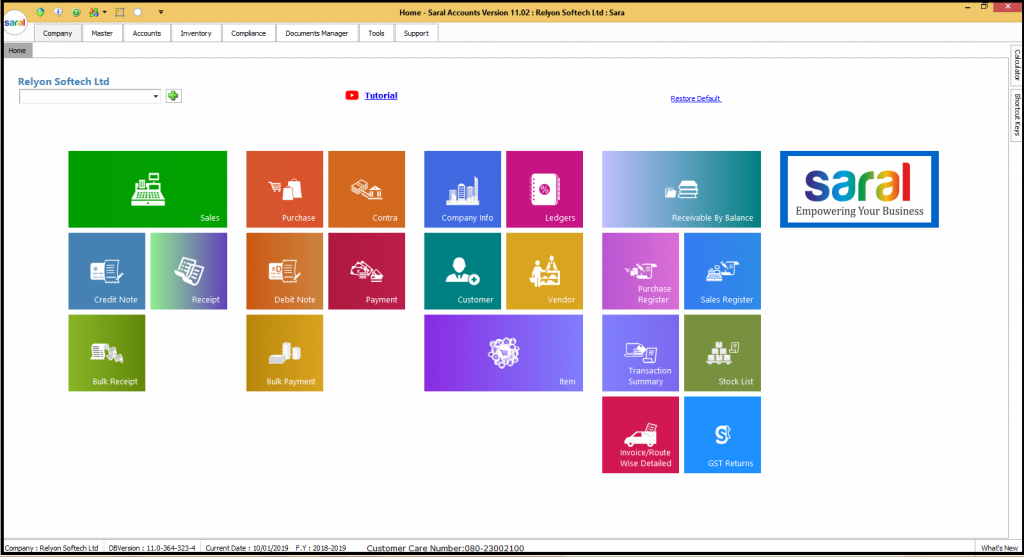 This ends our post on Company Master creation in Saral Software. Let us know your opinion by commenting below.
Related: File creation in Saral Software


