Hi, This post is the fourth part of AMC and Warranty in Saral, here we will see the workflow of AMC module in Saral Accounting and billing software.
In the previous post-AMC and Warranty in Saral (Part -III) we have seen the workflow of a warranty module in Saral Accounting and billing software.
STEP 1: Providing AMC details
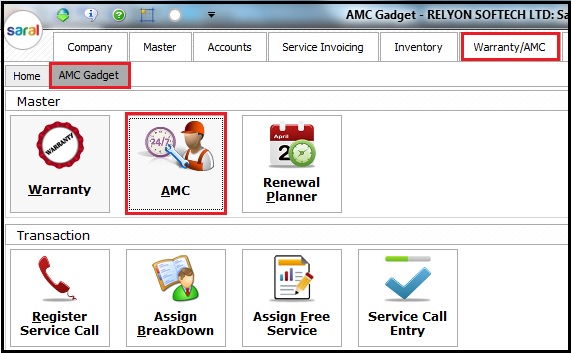
Once the Sales invoice is done, provide AMC Card details by clicking on AMC from Warranty/AMC module.
In the AMC Details window, select the customer and refer the bill using ‘From’ option. Enter the sales representative name and specify the AMC percentage on the bill amount with AMC date. Enter AMC negotiable amount, if agreed with the customer.
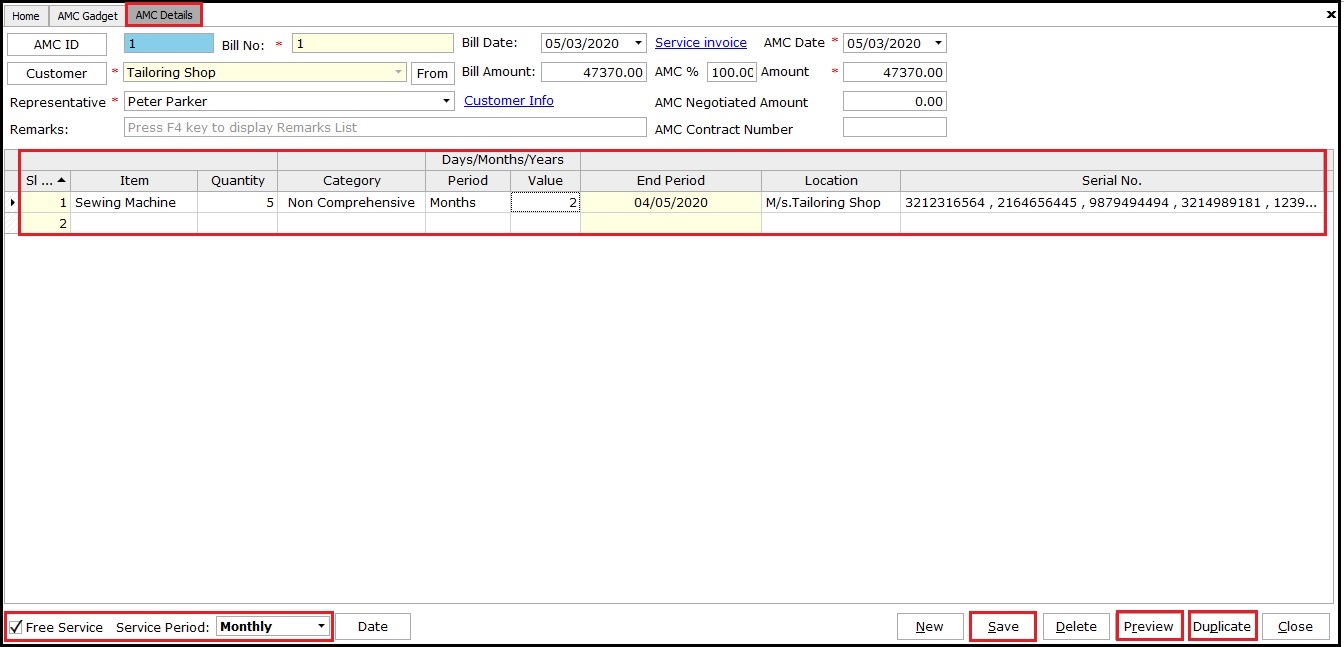
Select the required category mode (as listed below) for providing AMC with a period of time details;
- Comprehensive: Providing services and spares being non-chargeable
- Non-Comprehensive: Providing service free but Spares will be charged.
Enable Free Service from the bottom left corner to apply free service allocation for a service engineer to provide service on specified date slots. If required, choose a custom date i.e. a specific date.
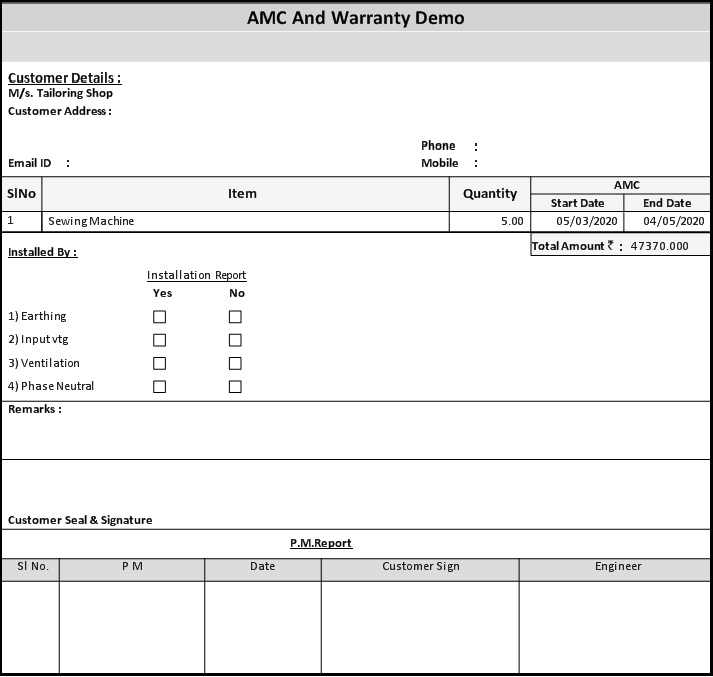
Click Save and Preview the details as in the required report format.
STEP 2: Assign Service Engineer
Once AMC details are updated and provided to the customer, now it’s time to assign service engineer for free services as per the schedule.
To do this, click Assign Free Service from Warranty/AMC module in AMC Gadget tab.
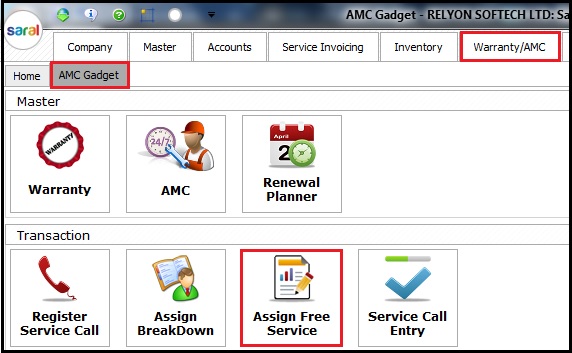
In Assign Free Service window, select the Service representative and allot the date accordingly and click Save.
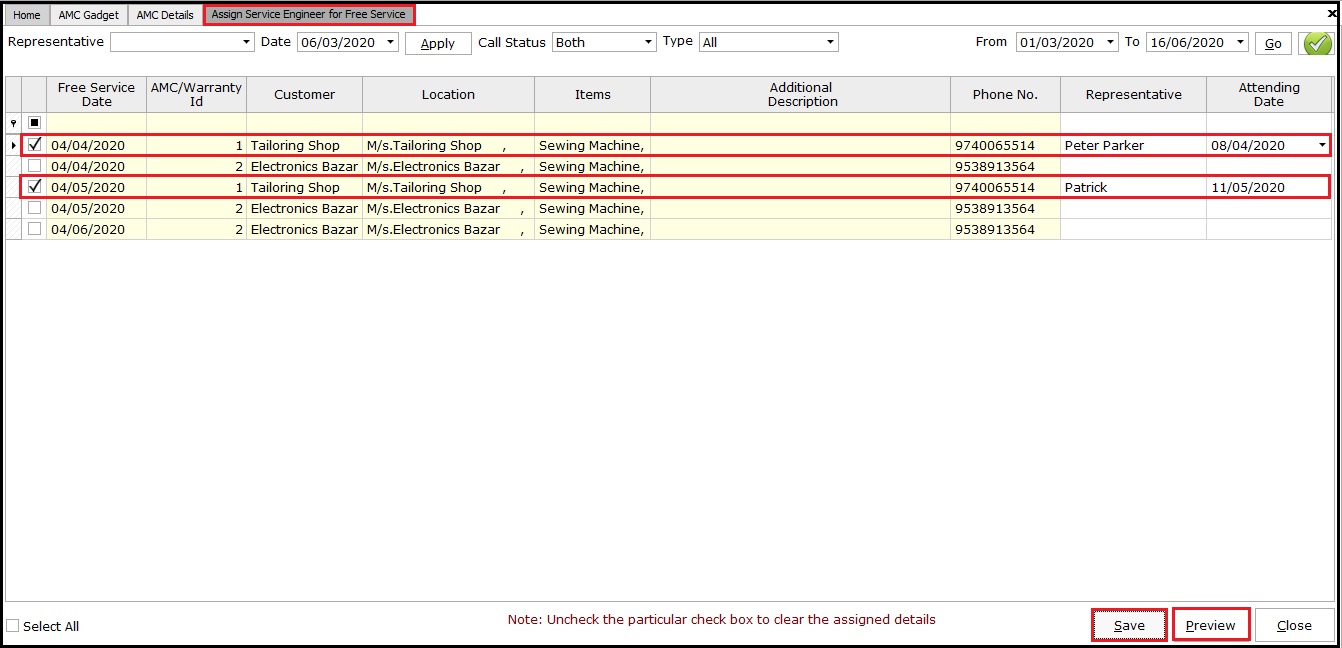
Note: Attending date should be greater than or equal to free service date.
Click Preview and Assign service engineer window will be displayed.
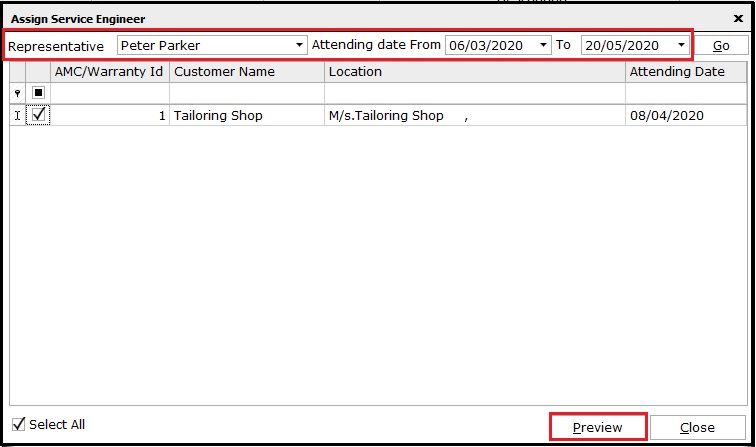
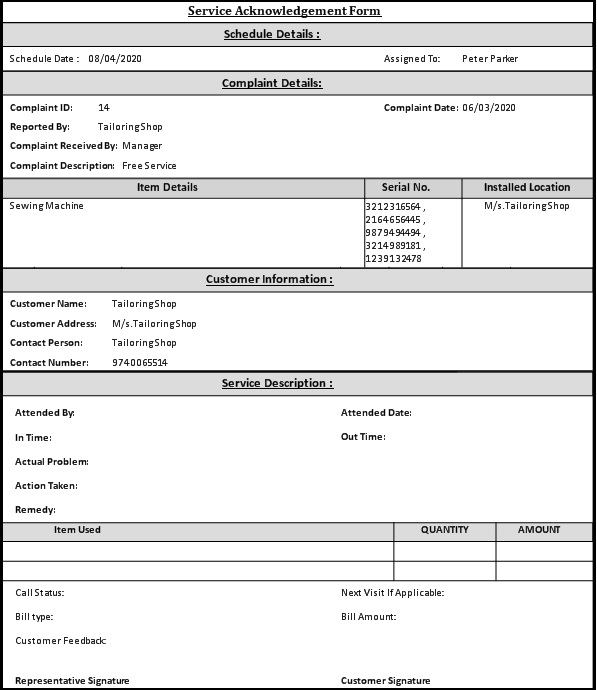
Select the Service representative with attending From/To date. Click Preview by selecting the required report format.
STEP 3: Service details update
After visiting the service call by service engineer, now it’s time to update the observations and actions taken to resolve the issue and what remedy was given to a customer, in the software.
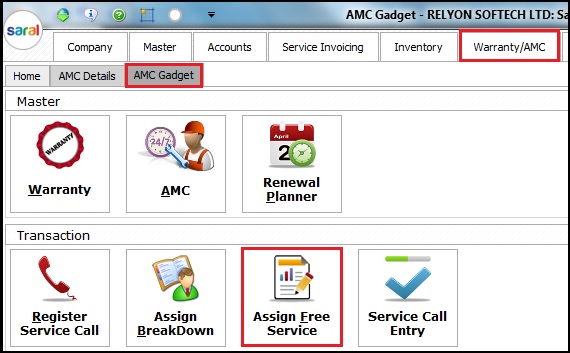
To update, go to Warranty/AMC module; click Assign Free Service in AMC Gadget.
Further updates and entries are similar as in Step 4 of Warranty Workflow. Please refer the link to complete this Step 3.
STEP 4: Service Invoice Generation
Once service details are updated by a service representative, it’s time to generate service invoice to the customer on availing service as per AMC Date allocated to a service engineer.
To do this, go to Service Invoice and select the Service type as per customer looking to his/her purchased goods/services
Note: Please find how to do Service invoicing, from this already shared Tutorials.
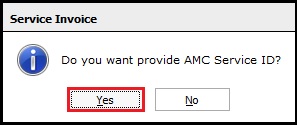
Upon saving service invoice, pop up will appear to assign AMC ID. Click Yes.
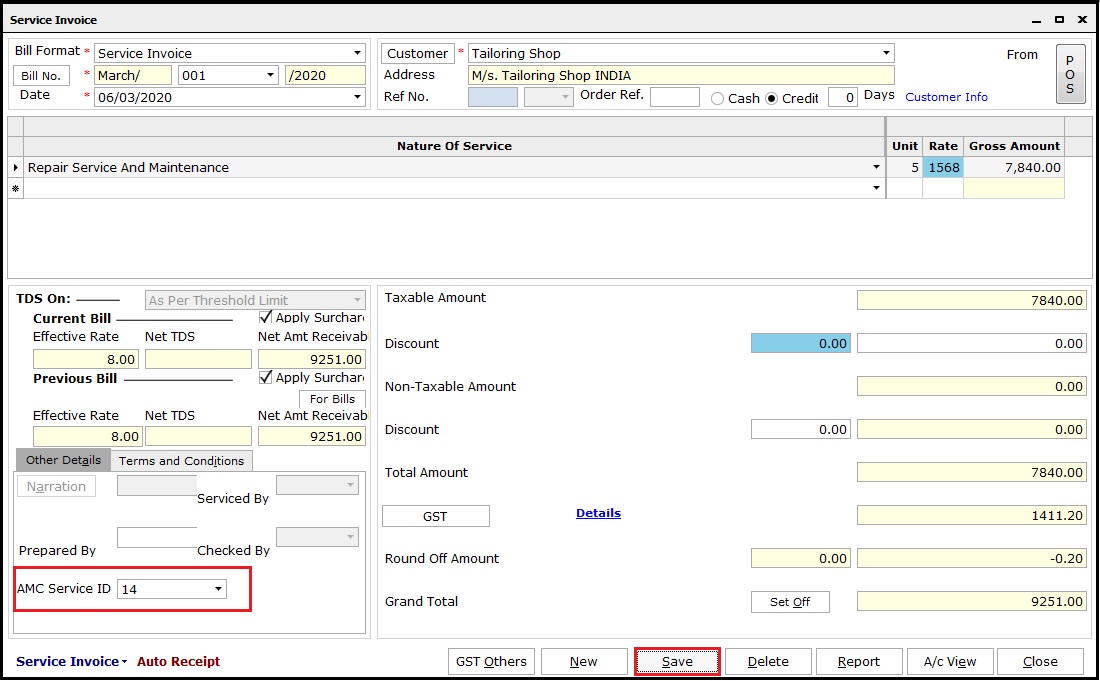
From the drop-down, select specific AMC Service ID for that particular Service invoice and click Save.
 This completes the workflow of AMC module in Saral.


