In this post, we will see how to install Saral – Accounting and billing software.
Before installing the software, we have to make sure that the required Hardware and Software configuration is available for the installation.
The minimum configuration required to install Saral is as below:
Minimum System Requirement to install Saral Accounts and Billing
Software Requirements:
- Operating System ‐ Microsoft Windows 7 Onwards
- Internet Explorer 11 or above
- Windows Installer 3.1
- Dot Net (.Net) Framework 4.0
- Dot Net (.Net) Framework 4.5 (For Saral Access)
- Microsoft Office 2003 or later / Open Office (For Word and Excel Reports)
- Any PDF reader (For PDF Reports)
- MSSQL 2008 Express Edition or above
Hardware Requirements:
- Processor ‐ Core 2 Duo or above / equivalent (2 GHz or higher)
- RAM ‐ 2 GB or higher
- Display ‐ Minimum 1024 X 768 pixels or higher
- Hard Disk ‐ 2 GB of Free Disk Space
- USB drive or Internet connection for Software Installation
The steps involved in this process are:
- Download the setup from the website
- Installing the software
Download the setup from the website:
Step-1: Go to https://www.saralaccounts.com and click on Download option.

Step-2: Here, go to Download Software. An entry form will be displayed. Enter the details and select the required software Accounting/Billing from the drop down and submit.
Please note: The setup link will be sent to the mail id provided in the form. Hence, provide proper mail id to receive the mail.
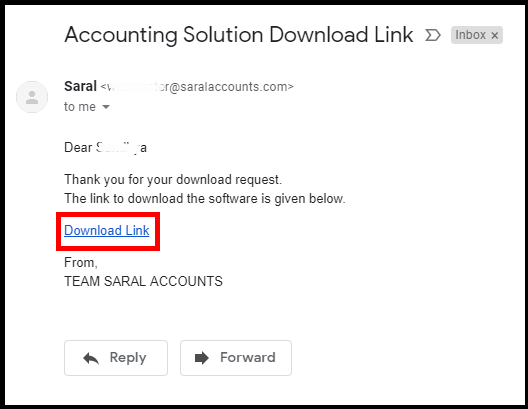
Step 3: Go to your mail inbox (mail id given in the form) and click on the link received in the mail. Download the software setup file to the required path in your system.
Installing the software:
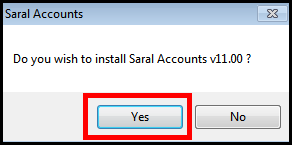
Step-1: Double click on the setup file downloaded from Email. Click on Yes to begin the installation process
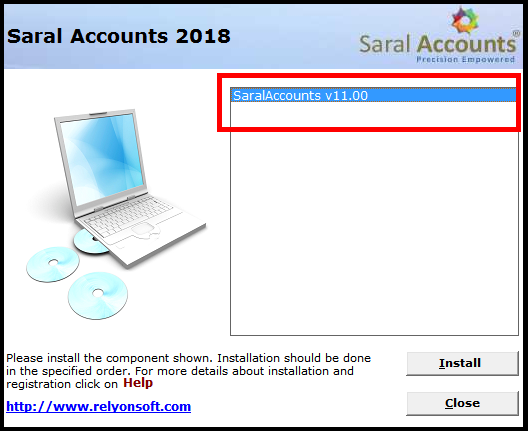
Step-2: In the popup window, components to be installed will be displayed. Install all the components in the ascending order.
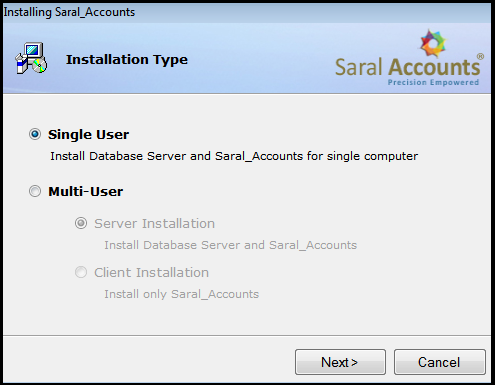
Step-3: Next, follow the screens. You will be asked for the type of license (Single/Multi-User). Select the relevant type as per your purchase and continue.
Step-4: Now, if SQL server is to be installed, enable the option and provide the password for the database. By default, sa is the username and reladmin@123 is the password. If not required, continue with software installation.
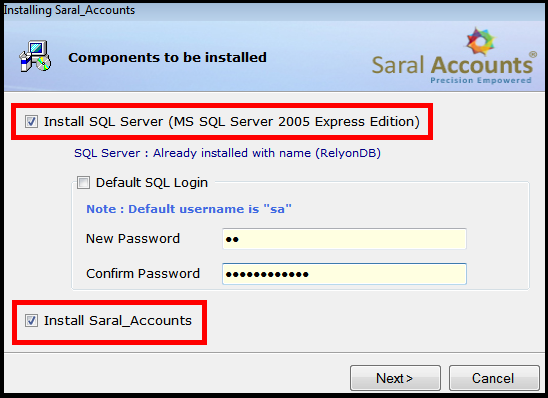
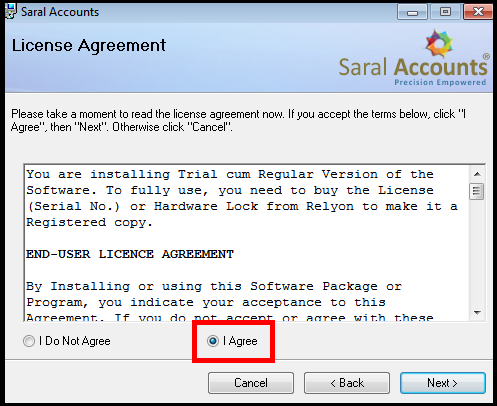
Step-5: Follow the screen until you reach the End User License Agreement Screen. Here, select on I Agree and proceed.
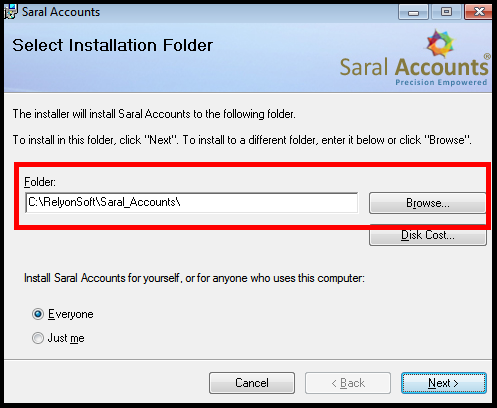
Step-6: In the next screen, you will be asked for the path of Software installation. Select other than C Drive and continue
Step-7: Now the software installation will begin
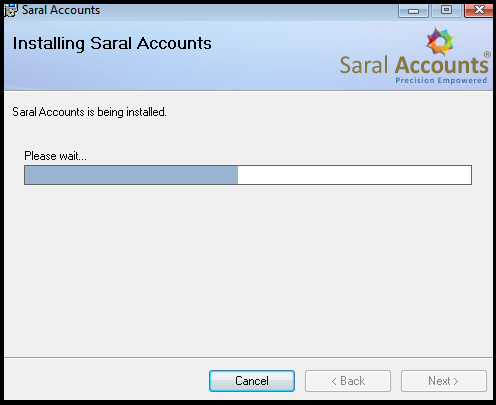
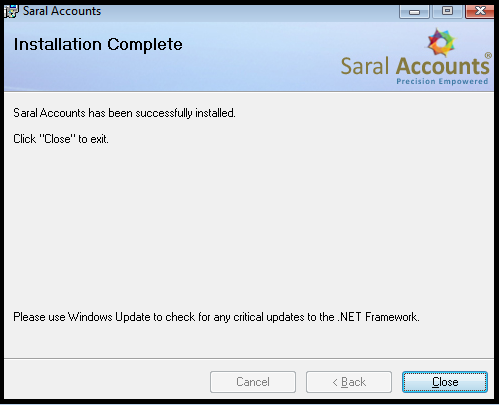
On successful installation, the message will be displayed. Click on Close to finish the process
The software icon will be displayed on the desktop. Open the software and start accounting
This ends the post. Let us know your opinion by commenting below.


