[vc_row][vc_column][vc_column_text]Hi all, in this post, we will continue to see the process of data synchronization between the Branch office and Head office.
In previous posts, we have seen the configurations required at HO & BO respectively with data transfer from Head Office to Branch Office, which can be read below :
- Data Synchronization configuration at Head Office File
- Data Synchronization configuration at Branch Office File
- Data Synchronization from Head Office to Branch Office, along with
- Branch Creation
The process of data transfer from Head Office file was seen. Now, we will transfer the data from the Branch Office (BO) to Head Office (HO) files.
Before starting, make sure that HO & BO files are online.
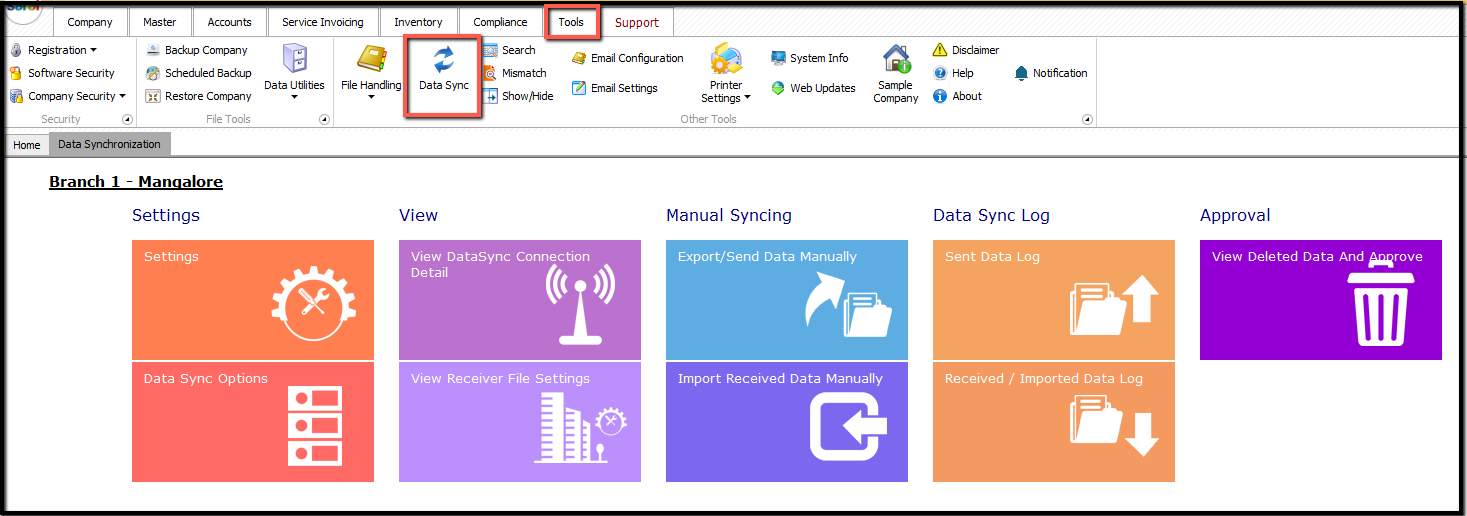
To view the status, go to Data Sync option under Tools and the Data Synchronization dashboard will be displayed. Here the status of the file can be seen.
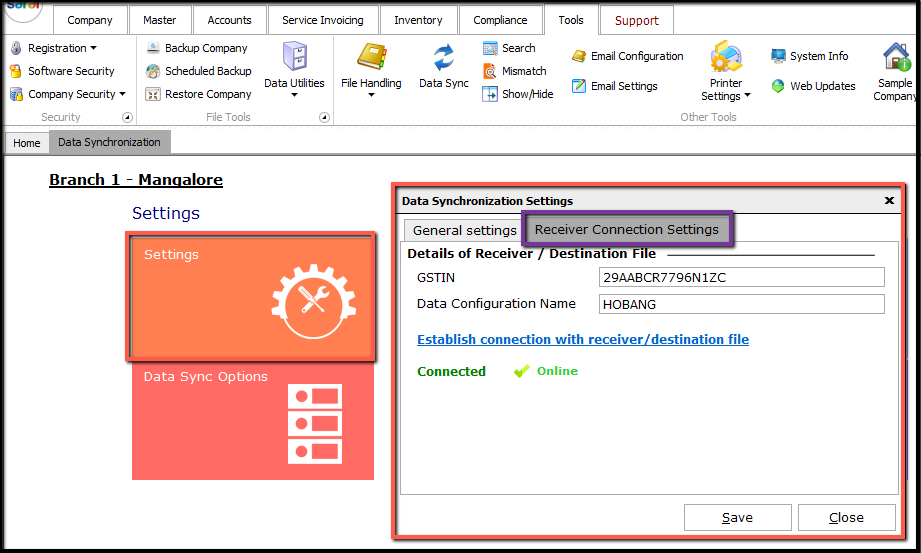
Click on Settings to verify the connection to HO. If the connection is not available, connect to HO.
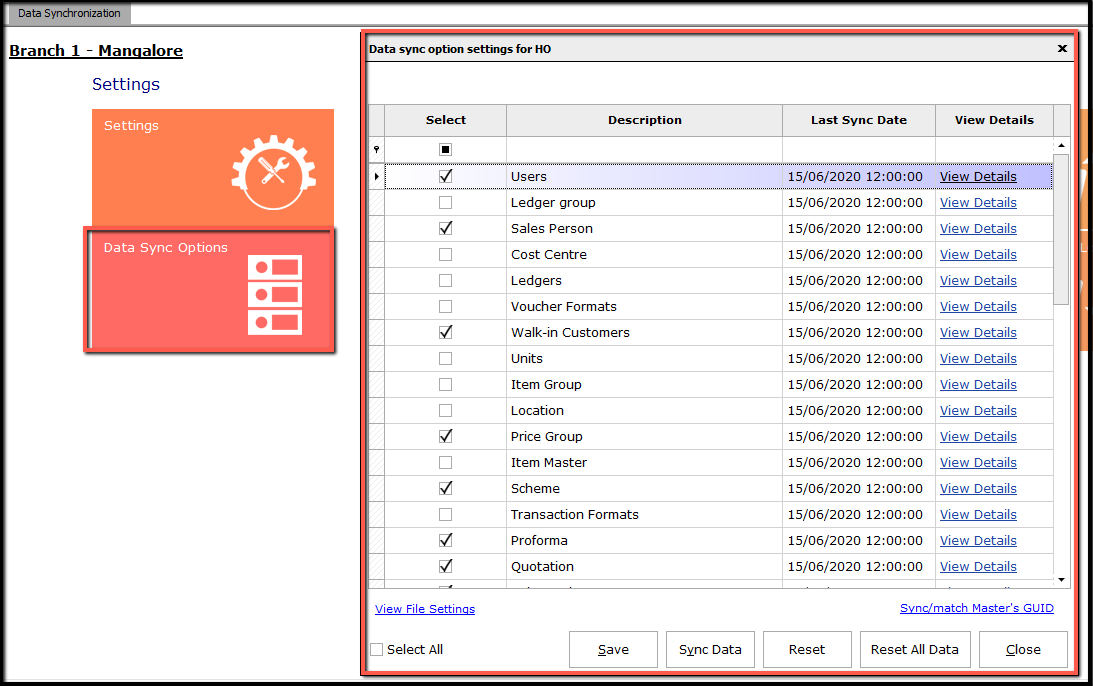
Next, click on Data Sync Option Settings link. Here, all the details that will be synced between the HO & BO files will be displayed. If any of the details are not required to be synced, then uncheck such details. After syncing the details, one can see the last sync time in this window.
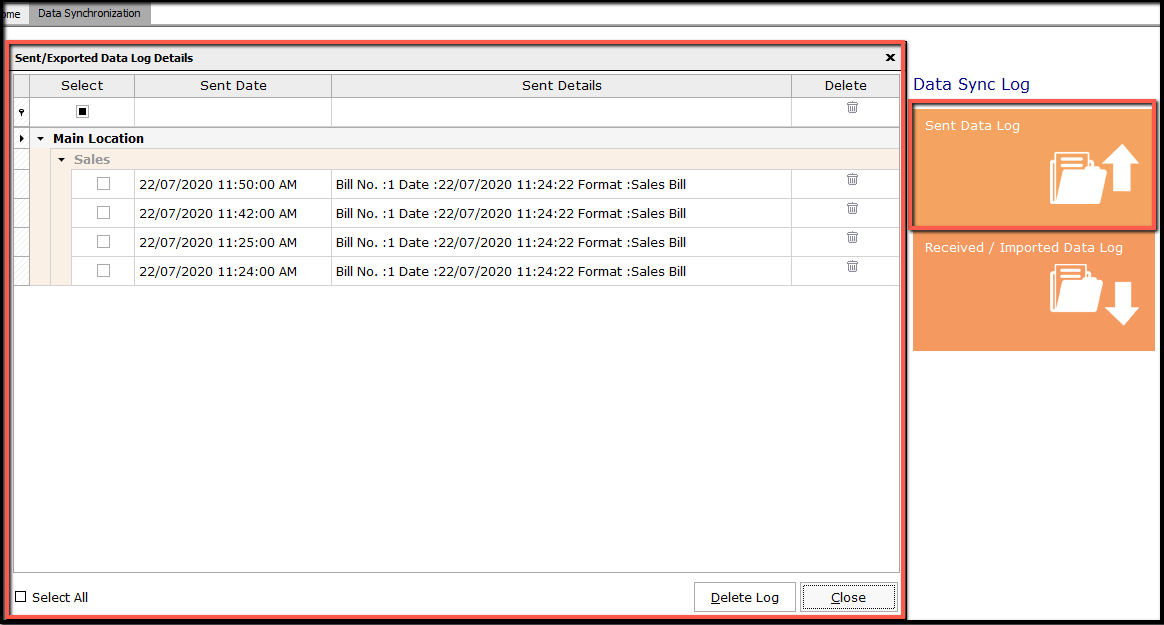
Now, on successful connection, the details will be synced as per the settings done. To view the details that have been sent from BO to HO, click on Sent Data Log and all the details that are sent to HO will be displayed.
Similarly, to view the receiving details, click on Received/Imported Data Log. Here, you can see the log of received files from HO.
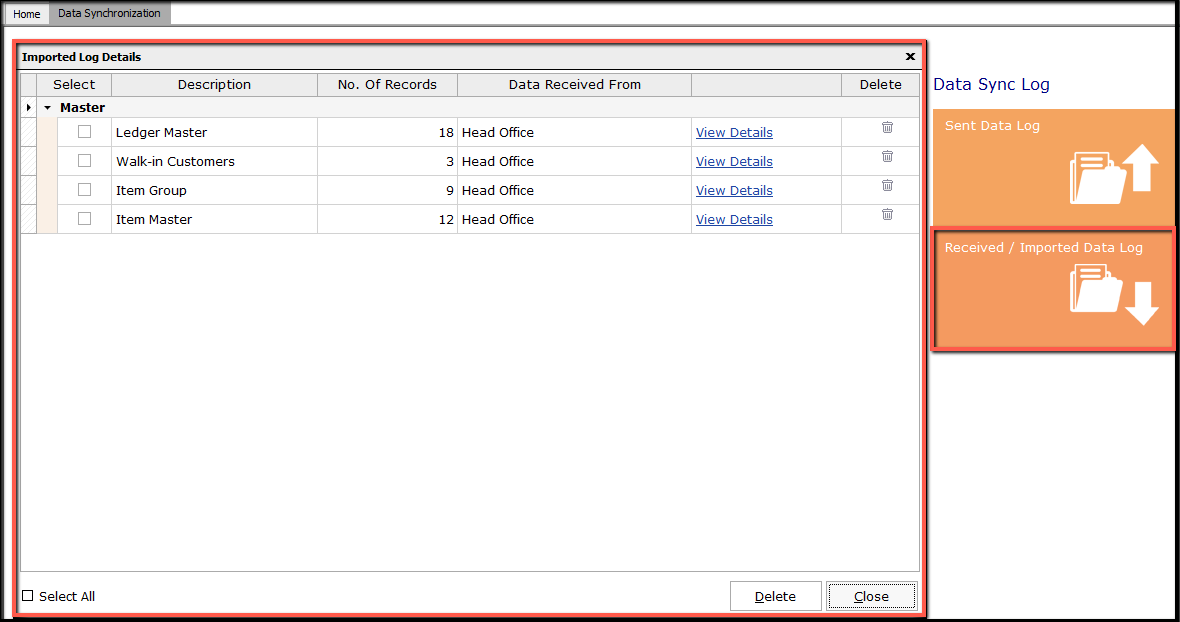
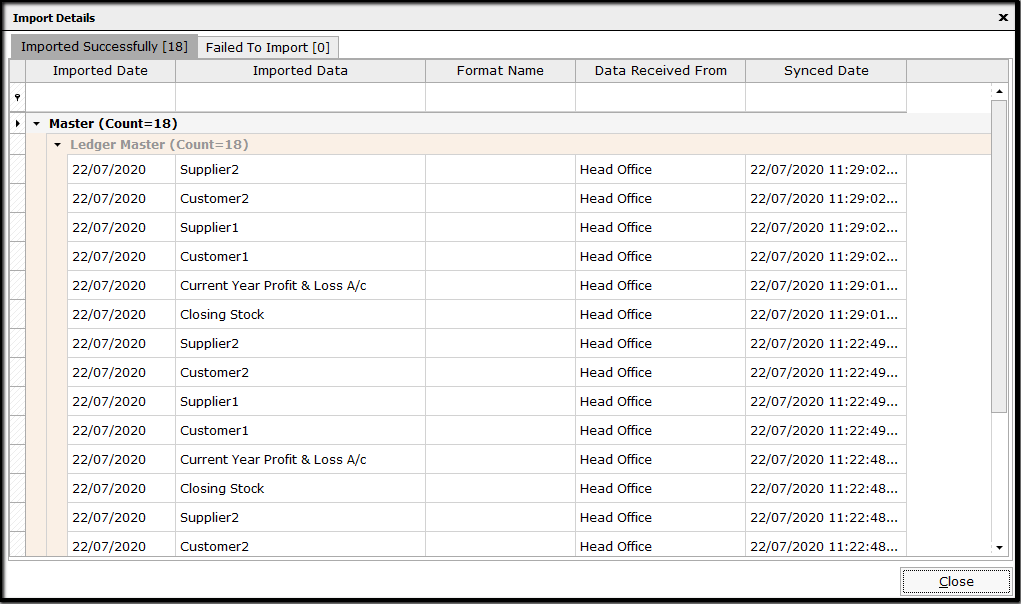
In case of any failed transaction, the details will be available under View details of the particular, where the details will be listed under Failed To Import.
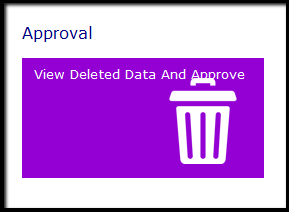
If any detail is deleted in the HO file after transfer from BO, then the information on data deleted with approval, for such deleted files will be indicated to BO at View Deleted Data And Approve.
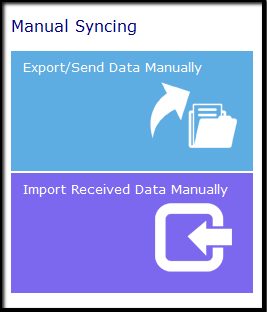
To sync/transfer the details manually, click on Export/Send Data Manually and to import the details manually click on Import Received Data Manually.
This completes the data synchronization process from the Branch Office file to the Head Office file.
Some important points to remember during Data Synchronization
- Data configuration name has to be different for both HO and BO file.
- GSTIN can be same for both HO and BO file and at times it may be different too.
- Data configuration name should be synced under General Settings —> Cloud Registration.
- Data configuration name given in BO file should be same as branch name given in Branch master of HO file.
- GSTIN given in BO file during company creation should be the same as the GSTIN given while creating a branch in HO file.
- Enter HO file GSTIN and Data Configuration name in BO file receiver’s settings for syncing details between two file.
- After syncing the data to BO file, if any data is deleted at HO but not deleted at BO then there will be a mismatch in the count of entries.
- If auto-sync time is given as zero, then there will be no syncing of data between the files.
- Make sure that the settings enabled at HO are the same as in BO file.
- Settings of formats should not be changed after starting data sync.
- Until data synchronization is completed, do not make any changes like new entry, closing the file.
- Have good internet connectivity at both the systems.
[/vc_column_text][/vc_column][/vc_row]
